
Crafting a Dollhouse Miniature Toilet with Foam Board and Photo Paper
In this blog post, we will guide you through the process of creating a dollhouse miniature toilet using foam board and photo paper. By following these steps, you can adjust the size to fit a 1:12 scale, ensuring a perfect fit for your dollhouse.
Materials Needed:
Foam board
Photo paper or glossy cardstock
Craft knife or scissors
Ruler
Pencil
Glue or adhesive
Acrylic paints
Small paintbrushes
Clear varnish (optional)
Miniature accessories (toilet seat, flush mechanism, etc.)
Step 1: Gather Inspiration and Measurements
Start by researching real-life toilet designs or look for inspiration in dollhouse magazines or online. Consider the overall style and features you want to incorporate into your miniature toilet. Measure the available space in your dollhouse to determine the appropriate scale for your toilet.
Step 2: Create a Template
Using your measurements, draw a template for your miniature toilet on a piece of paper. Make sure to include all the necessary details such as the bowl, tank, and base. Adjust the size to fit your desired scale. Once you are satisfied with the template, transfer the design onto the foam board, and carefully cut it out using a craft knife or scissors.
Step 3: Construct the Toilet Bowl and Tank
Using the foam board, shape the toilet bowl and tank based on your template. Glue the sides together, ensuring they align correctly. Hold the pieces in place until the glue dries, providing stability and a solid foundation for your miniature toilet.
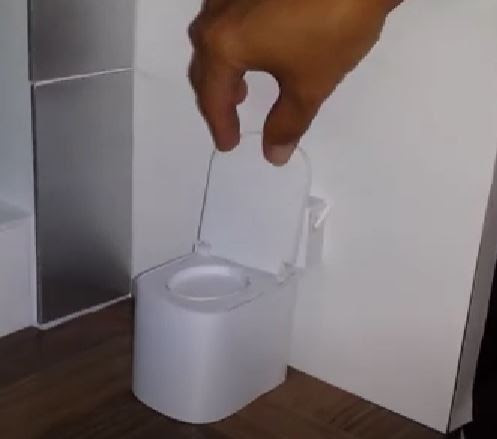
Step 4: Add Realistic Details
To achieve a realistic look, cover the foam board with photo paper or glossy cardstock. This material will mimic the appearance of porcelain or ceramic. Cut the photo paper/cardstock according to the shapes of the bowl and tank, and glue them to the foam board. Trim any excess paper and ensure smooth edges.
Step 5: Painting and Finishing Touches
Paint the miniature toilet using acrylic paints. Select colors that match your desired aesthetic. Take care to add texture and shading to imitate the look of a real toilet. Allow the paint to dry completely. If desired, you can apply a thin coat of clear varnish to protect the surface and add a subtle shine.
Step 6: Attach Accessories
To complete the miniature toilet, attach a toilet seat, flush mechanism, and other accessories as desired. These can be purchased from dollhouse supply stores or handmade using various materials such as wire, beads, or tiny buttons.
Be creative and experiment to achieve the desired level of detail and authenticity.
Designing and creating dollhouse miniatures allows you to express your creativity and add unique touches to your dollhouse. By following the steps outlined in this blog post, you can construct a dollhouse miniature toilet using foam board and photo paper.
Remember to adjust the size according to your desired scale to ensure a perfect fit within your dollhouse. With careful craftsmanship and attention to detail, you'll have a stunning miniature toilet that adds an authentic touch to your dollhouse bathroom. Happy crafting!
Thanks for stopping by today!


Comments
Post a Comment